This pickled eggplant is one of those old-school recipes that feels like it should be complicated but really isn’t. I love making a few jars in late summer or early fall, when eggplants are cheap and everywhere.
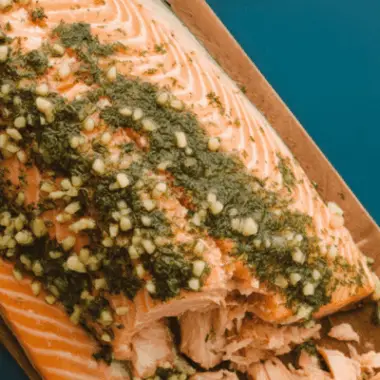
This version is based on how my family used to preserve extra eggplant—salting, pressing, soaking in vinegar, then packing it in oil with garlic and spices. The result? A tangy, savory, almost meaty antipasto that’s perfect with bread, on sandwiches, or tucked into a pizza.
If you’ve only ever had the store-bought stuff, you’re in for a treat. Homemade has so much more texture and bright flavor.
![]()
Why I Make This at Home
I grew up with pickled vegetables on the table—peppers, carrots, giardiniera, and yes, eggplant. But store-bought jars never taste quite right to me. This homemade version has the punchy, garlicky, herbal flavor I crave.
And it’s not hard, just a little time-consuming in that old-fashioned, “leave it overnight” kind of way. Most of the time is just waiting while the salt and vinegar do their job.
I love pulling a jar off the shelf when friends come over, opening some crusty bread, and sharing a taste of something you can’t buy in a supermarket.
Picking the Right Eggplant
I’m picky about eggplant for this. I like to buy from the local market, checking each one carefully.
- Look for firm skin with no wrinkles or soft spots.
- I prefer small to medium globe eggplants because they tend to have fewer seeds and a sweeter taste.
- Honestly, I’ve used all kinds—whatever looks best on market day.
When I have time, I like to make a morning of it. I’ll head to the market early, grab a coffee, and chat with the vendors about what’s freshest. It turns an ordinary chore into a bit of an event.
Also try these Eggplant recipes:-
What You’ll Need
This recipe doesn’t need much gear, which is one reason I love it.
- Cutting Board and Sharp Knife – For trimming and slicing the eggplant.
- Non-Reactive Bowls – Glass or ceramic. I use two big mixing bowls.
- Colanders – For draining.
- Plates and Weights – I use heavy cans, vinegar bottles, or even old bricks wrapped in plastic bags. Anything to weigh the eggplant down and press out liquid.
- Jars – I use 500 ml Mason jars, but any sterilized jar will do.
- Fork – For pressing the eggplant tightly in the jars.
![]()
![]()
How I Make It Step by Step
This is my practical, slightly messy, very real kitchen version.
Day 1: Salt the Eggplant
- Wash and dry the eggplant.
- I usually peel off strips of skin so there’s some texture left—about half on, half off.
- Slice into rounds, then into matchsticks about ¾ cm thick.
- Layer the strips in large bowls with coarse salt between layers.
- Put a plate on top and weigh it down with whatever you have handy.
- Leave it on the counter for 24 hours.
After a few hours, I often swap to a smaller plate if needed to keep pressing down well. The goal is to press out as much liquid as possible.
Day 2: Vinegar Soak
- By now you’ll see dark water at the bottom—that’s all the bitter stuff drawn out.
- Drain in a colander and press again to get more liquid out.
- Return the eggplant to a bowl and pour in white vinegar to soak.
- Weigh it down again and leave it for another 24 hours.
This is the step that gives the eggplant its pickled bite. It smells sharp but in a good way.
Day 3: Packing in Oil
- Drain and press one last time to get the vinegar out.
- Grab small handfuls and squeeze them out over the sink—don’t be shy. The drier it is, the better it will keep its texture.
- Toss the eggplant strips in a bowl with slivered garlic, dried chili flakes, oregano, fennel seeds if you like, and enough oil to coat everything.
- Sterilize your jars.
- Drizzle a bit of oil at the bottom of each.
- Pack in the eggplant tightly using a fork to press it down. You want minimal air pockets.
- Leave about an inch of headspace. Top off with oil until everything is submerged.
- Screw on the lids loosely at first. Let them sit for a few hours to settle. If the level drops, add more oil before sealing tightly.
Storage Tips
I keep mine in a cool, dark place—like a pantry shelf.
- Once you open a jar, store it in the fridge and use within 2–3 weeks.
- Keep the eggplant submerged in oil to prevent spoilage. Just top it off if needed.
- I prefer using vegetable or sunflower oil because olive oil can get cloudy and thick in the fridge. But if you don’t mind that, use good olive oil.
How I Like to Serve It
This is one of those foods that always feels like a treat.
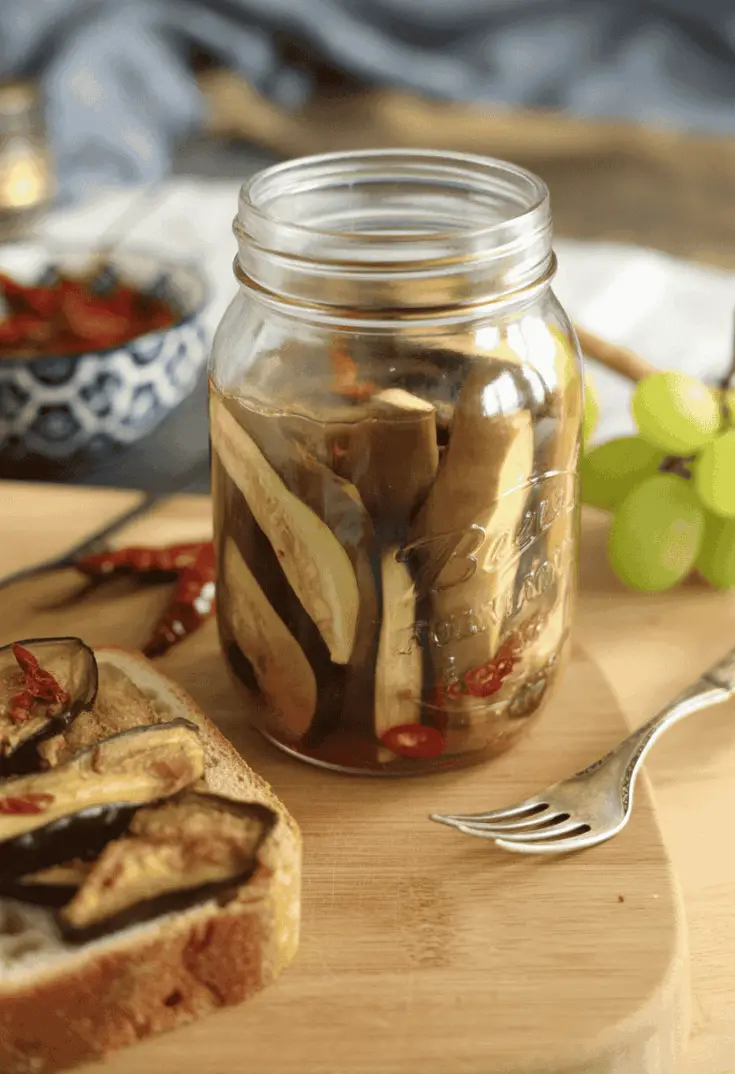
- On Crusty Bread – Just scoop it on fresh bread as a pre-dinner snack.
- Antipasto Platters – Pair it with cheese, cured meats, olives, and roasted peppers.
- In Sandwiches – I love it in a grilled sausage panini.
- Stuffed Pizza or Calzone – Adds amazing flavor.
A Few Personal Tips
- The flavor really develops after a few weeks. If you can wait a month, it’s even better.
- Mint or basil makes a lovely variation if you want to change it up.
- If you’re worried about making too much, split the batch into smaller jars so you don’t have to eat it all at once after opening.
- Don’t rush the draining steps. The pressing is what gives it that nice, dense, non-soggy texture.
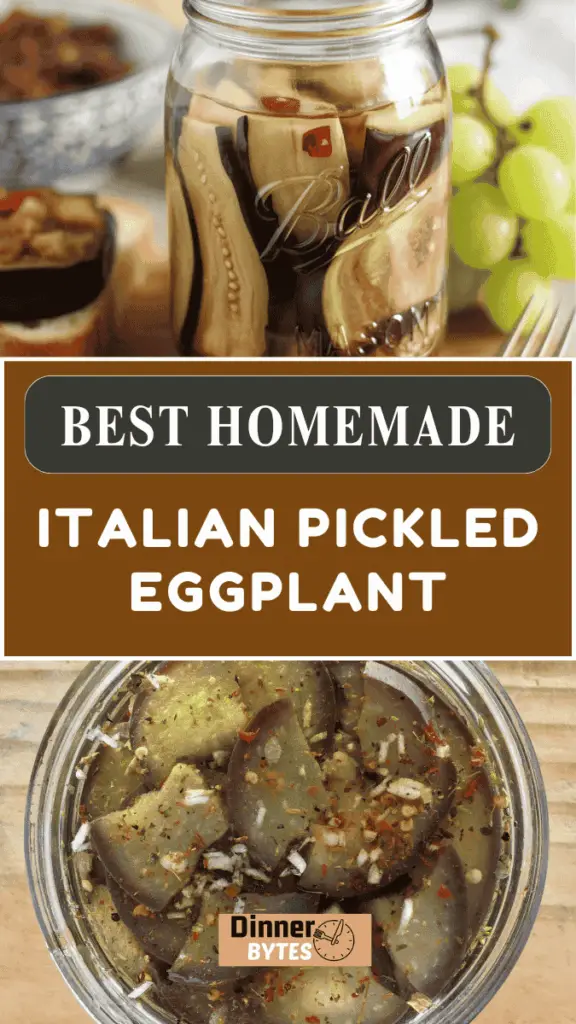
Italian Pickled Eggplant
If there’s one thing that truly brings me back to my Sicilian roots, it’s this classic Italian Pickled Eggplant.
Ingredients
- 5 kg eggplant (or 11 lbs)
- 3 cups vegetable oil or any other neutral flavored oil such as sunflower or canola, plus more for topping jars
- 3 garlic cloves slivered
- 1 cup coarse salt
- 3 cups white vinegar
- 1 -2 dried hot chilis or more according to taste
- 2 teaspoon fennel seeds
- 2 tablespoon dry oregano
Instructions
Day 1 - Salt the Eggplant
- Start by washing and drying the eggplant well. Remove some of the peel—either completely or just in strips, depending on your preference.
- Slice the eggplants into 1 cm rounds and then into ¾ cm matchsticks.
- Place the eggplant in two large non-reactive bowls, layering with coarse salt as you go.
- Press down the eggplant by placing a dinner plate over the layers and weigh it down with something heavy, like a can or a bottle, or even a paving stone covered in a plastic bag.
- Let it sit on the counter for 24 hours. After a few hours, you may want to switch to a salad plate to ensure the weight presses down properly.
- After 24 hours, you’ll notice that a dark water has surrounded the eggplant, and the volume has reduced.
- This is the result of the salt drawing out the bitter juices. Drain the eggplant in a colander, then weigh it down again for 2-3 hours to press out as much water as possible.
- Next, transfer the eggplant back to the bowls, add the white vinegar, dividing it evenly between the two bowls. Press it down again and leave it to sit for another 24 hours.
Day 2 - Jar and Store
- Sterilize your jars and lids. I used three 500 ml jars for this recipe.
- Drain the eggplant again, pressing it down once more for 2-3 hours to get rid of any remaining vinegar.
- Squeeze out any excess liquid by hand, as you'll be surprised at how much more comes out.
- Once drained, toss the eggplant with vegetable oil, slivered garlic, torn dried chili pepper, oregano, and fennel seeds, dividing the ingredients evenly between the bowls.
- Drizzle a little oil at the bottom of each jar, then pack the eggplant strips tightly into the jars using a fork.
- Press down firmly to ensure it’s packed as tightly as possible. Leave about 2.5 cm of space at the top of the jar.
- Pour in enough oil to cover the eggplant, but be careful not to let the oil touch the lid. Seal the jars loosely for now.
- After a few hours, check to see if the eggplant has absorbed more oil. If it has, top up with extra oil, then screw the lids on tightly.
Notes
- You can use any variety of eggplant for this recipe, just make sure it’s fresh and firm, not wrinkled. You can also experiment with different flavorings like mint, basil, or parsley.
- While my family uses vegetable oil because it remains liquid in the fridge, you can use olive oil if preferred. However, be aware that olive oil may solidify when refrigerated.
Nutrition Information
Yield
3Serving Size
1Amount Per Serving Calories 2068Total Fat 223gSaturated Fat 34gTrans Fat 2gUnsaturated Fat 179gCholesterol 0mgSodium 37741mgCarbohydrates 13gFiber 3gSugar 6gProtein 3g
dinnerbytes.com, occasionally offers nutritional information for recipes contained on this site. This information is provided as a courtesy and is an estimate only. This information comes from online calculators. Although dinnerbytes.com attempts to provide accurate nutritional information, these figures are only estimates.