Making homemade jerky doesn’t have to be fancy — just flavorful and budget-friendly. That’s exactly why I keep coming back to this ground beef jerky recipe. It’s easy on the wallet, doesn’t need any hard-to-pronounce ingredients, and gives you a big batch of chewy, savory jerky that disappears fast in my house.
Back when I first started making jerky, I was using expensive cuts and fancy marinades. Let’s just say my wallet wasn’t thrilled. Then one day, I decided to give ground beef a shot — and I haven’t looked back. It’s cheaper, easier to work with, and still hits that salty, smoky craving every single time.
Homemade Jerky Without Soy Sauce?
Yep. I wanted a version without soy sauce, tamari, or coconut aminos (they either taste odd to me or cost more than I want to spend on jerky). So I played around with ingredients I already had — beef broth for umami, a spoonful of molasses for depth, and liquid smoke for that signature barbecue kick.
To my surprise, that simple combo made for an incredibly flavorful jerky — bold, smoky, and just the right amount of sweet. And even better, no soy ingredients at all.
If you’re like me and don’t love the aftertaste of coconut aminos or you’re just trying to stretch your grocery budget, this recipe is a great workaround.
Can You Use Other Ground Meats?
Absolutely. I’ve had folks tell me they’ve swapped in ground venison, moose, and even bison with great results. If it’s lean and ground, it’ll probably work. Just make sure the fat content stays low — too much fat can mess with the drying process and shelf life.
Do You Really Need a Jerky Gun?
Short answer: Yes. You can technically make it without one, but shaping even, consistent strips by hand is a huge pain — and the results usually end up thick in some places, thin in others, and cook unevenly.
I’ve used both plastic and metal jerky guns, and while the plastic one kind of got the job done, it felt like wrestling a toddler with a glue stick. Once I upgraded to a sturdy metal jerky gun, it was smooth sailing. If you plan to make jerky even semi-regularly, it’s worth the investment.
Smart Tips from My Kitchen
Here are a few hard-earned lessons I’ve picked up from making this jerky more times than I can count:
- Keep the meat cold. Cold ground beef moves through the jerky gun much easier. Room-temp meat turns into a squishy, sticky mess.
- Stick with thinner strips. Thinner strips dehydrate faster and give you that chewy jerky texture without turning brittle.
- Skip the double nozzle. The single-strip nozzle gives you more control. The double one sounds efficient, but the meat comes out uneven — one fat strip, one skinny one — and that throws off the drying time.
Loading the Jerky Gun Without Air Pockets
Here’s a trick I wish I knew earlier: don’t just stuff all the meat in at once. Instead, fill the jerky gun a little at a time. Push the plunger forward, then pull it back a couple inches, add some meat, and repeat. This helps avoid air gaps, which can mess with the flow and give you uneven strips.
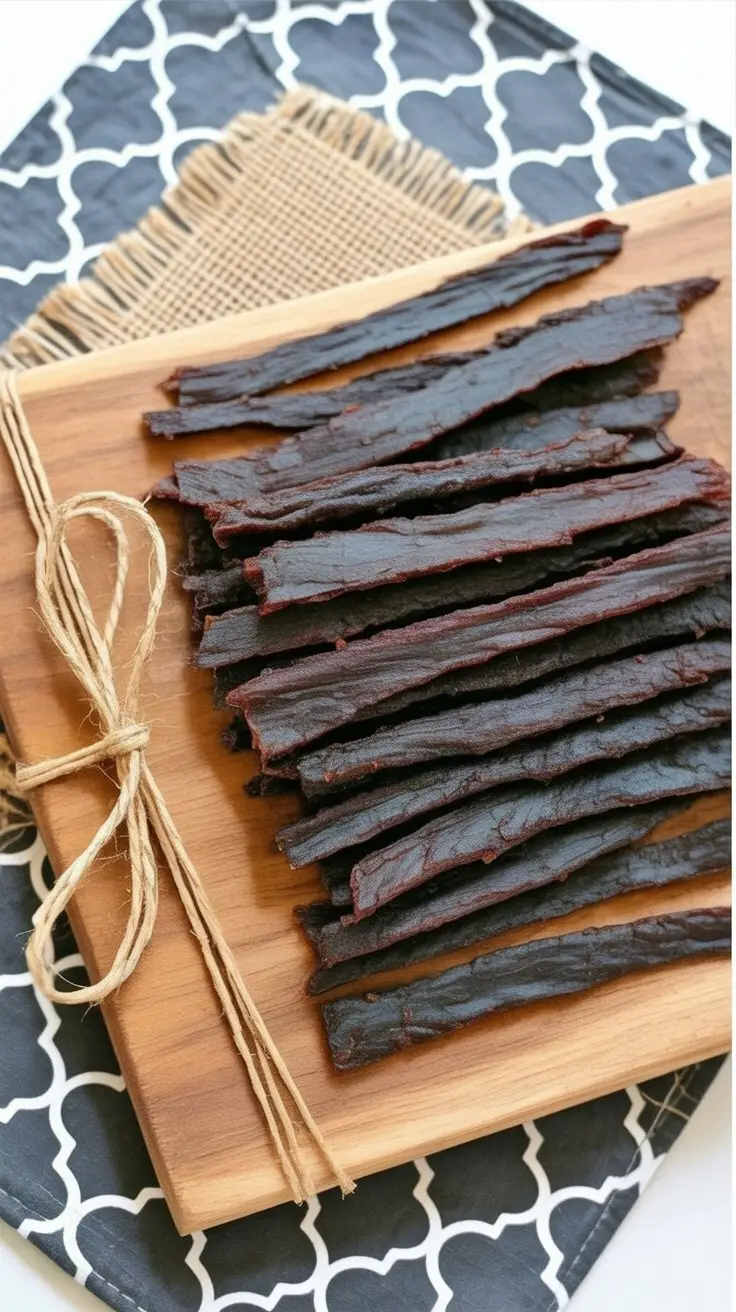
Once you’re ready to shoot, use a butter knife or offset spatula to “cut” the strip to the length you want (we like ours about 5–6 inches), then lay them onto your dehydrator trays.
Jerky Stick or Flat Strip?
Totally up to you. My crew likes the flat strips — easier to store, snack on, and share. But if you’re into pepperoni-style round sticks, just switch out the nozzle. Just keep in mind the thicker the shape, the longer the dehydration time.
Dehydrating in a Dehydrator
I use an Excalibur dehydrator (model 3926TB) that lets me set the temp and timer and walk away. It usually takes about 6–8 hours, depending on how thick the jerky is and how full the trays are.
I recommend rotating the trays once or twice halfway through. It helps everything dry evenly, especially if you’re filling it to the brim.
And don’t forget — use 93% lean beef (or leaner). Higher fat content means greasy jerky and messy trays, which no one wants to deal with.
What About Using the Oven?
I haven’t personally tried this in the oven, but I know some folks have. The challenge is getting your oven low enough — most dehydrators run around 160°F. If your oven doesn’t go that low, it might cook the jerky rather than dry it. If you give it a go, let me know how it turns out!
How to Store Homemade Jerky
Fresh jerky tastes best within the first couple days, especially if you’re keeping it at room temp. If I make a batch for the week, I keep it in an airtight container in the fridge and it lasts about 5–7 days. For longer storage, the freezer’s your friend — just pack it tightly and use it within 3–4 months.
If I’m sending some along for a friend’s hiking trip or tossing it in my kid’s lunchbox, I make sure it’s fully dehydrated and pack it in a resealable bag with a small paper towel to catch any excess moisture.
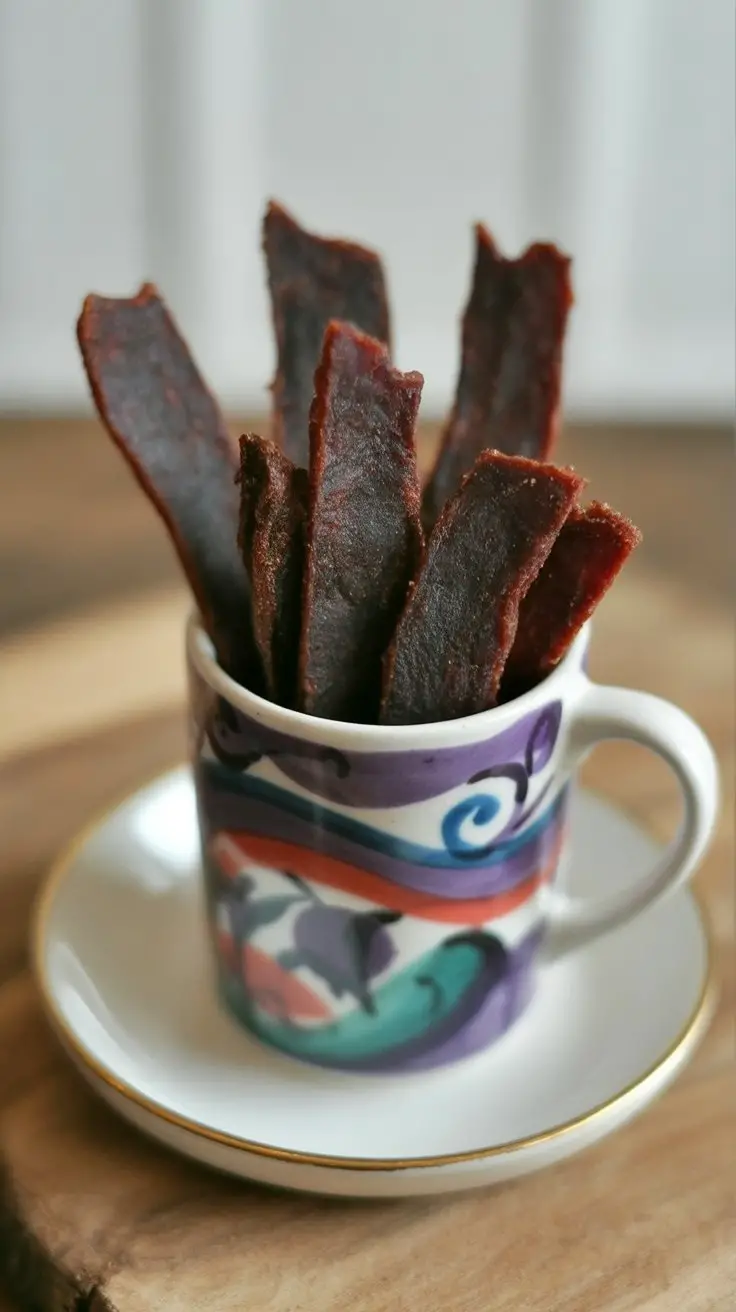
Ground Beef Jerky

Homemade jerky doesn’t have to cost a fortune. With a few pantry spices, lean ground beef, and a little patience, you can make a big batch of flavorful beef jerky right in your kitchen. It’s a great way to stretch your grocery budget while still enjoying a protein-packed snack that's perfect for hiking, road trips, or just everyday munching.
Ingredients
- 3 pounds lean ground beef (97% lean recommended)
- 1 ¼ cups beef broth
- 5 teaspoons garlic powder
- 4 teaspoons onion powder
- 2 teaspoons molasses
- 4 teaspoons sea salt (or adjust to taste)
- 2 teaspoons ground black pepper
- 1 tablespoon hickory liquid smoke (Wright’s brand works well)
Instructions
- Start by mixing your seasonings and ground beef in a large bowl—garlic powder, onion powder, salt, and pepper go in first. In a separate cup, whisk together the beef broth, liquid smoke, and molasses. Pour the liquid into the bowl of seasoned beef and mix everything together until it’s evenly combined. Don’t be shy about using your hands here!
- Cover the bowl and let the meat marinate in the fridge for at least 3 hours so the flavors can develop.
- Once chilled, form the meat into thin strips—about 1/8 to 1/4 inch thick. If you’ve got a jerky gun, now’s the time to use it! It makes shaping the strips easier and more consistent. No jerky gun? You can roll and shape by hand, but keep them as even as possible.
- Line up the strips in your dehydrator and dry at 145°F for anywhere between 6 to 12 hours, depending on how thick your jerky is and how chewy or dry you like it.
- After drying, transfer the jerky onto paper towels to cool down and soak up any extra fat.
- Eat within 12 hours at room temperature or stash it in the fridge in an airtight container for up to a week. For longer storage, freeze it and enjoy within 3 to 4 months.
Notes
- Lean meat is key. High-fat beef doesn’t dry well and will spoil faster.
- Chill the meat before shaping. It handles better and feeds smoothly through the jerky gun.
- Stick with thinner strips. They dry faster and more evenly.
- Single nozzle > double nozzle. For uniform drying, use the single strip attachment if your jerky gun has one.
- Load the jerky gun in layers. This helps prevent air pockets and gives a more consistent strip.
- Pre-cut before drying. If you’re making long strips, score them halfway through with a spatula—easier to break later.
Nutrition Information
Yield
18Serving Size
1Amount Per Serving Calories 183Total Fat 9gSaturated Fat 4gTrans Fat 0gUnsaturated Fat 4gCholesterol 67mgSodium 600mgCarbohydrates 2gFiber 0gSugar 1gProtein 22g
dinnerbytes.com, occasionally offers nutritional information for recipes contained on this site. This information is provided as a courtesy and is an estimate only. This information comes from online calculators. Although dinnerbytes.com attempts to provide accurate nutritional information, these figures are only estimates.
Final Thoughts
This ground beef jerky recipe has become a go-to in our kitchen for snacks, camping trips, or even post-gym protein boosts. It’s simple, satisfying, and saves us a small fortune compared to store-bought jerky. And once you get the hang of the jerky gun, it’s actually pretty fun to make.
Try Other Ground Beef Recipes: