Simple, salty, and so satisfying—Shiozake, or Japanese Salted Salmon, is one of those dishes that proves how little you need to make something truly comforting. It’s just salmon, salt, and sake, but it brings a lot to the table—literally and figuratively.
At home, this recipe has become a quiet morning ritual. I usually make a batch over the weekend, freeze a few fillets, and when Monday rolls around, I just pop one under the broiler while the rice steams. The crispy skin, the deep umami flavor, the soft flakes—this is the kind of breakfast that doesn’t need fanfare.
What Makes This Recipe Worth Keeping
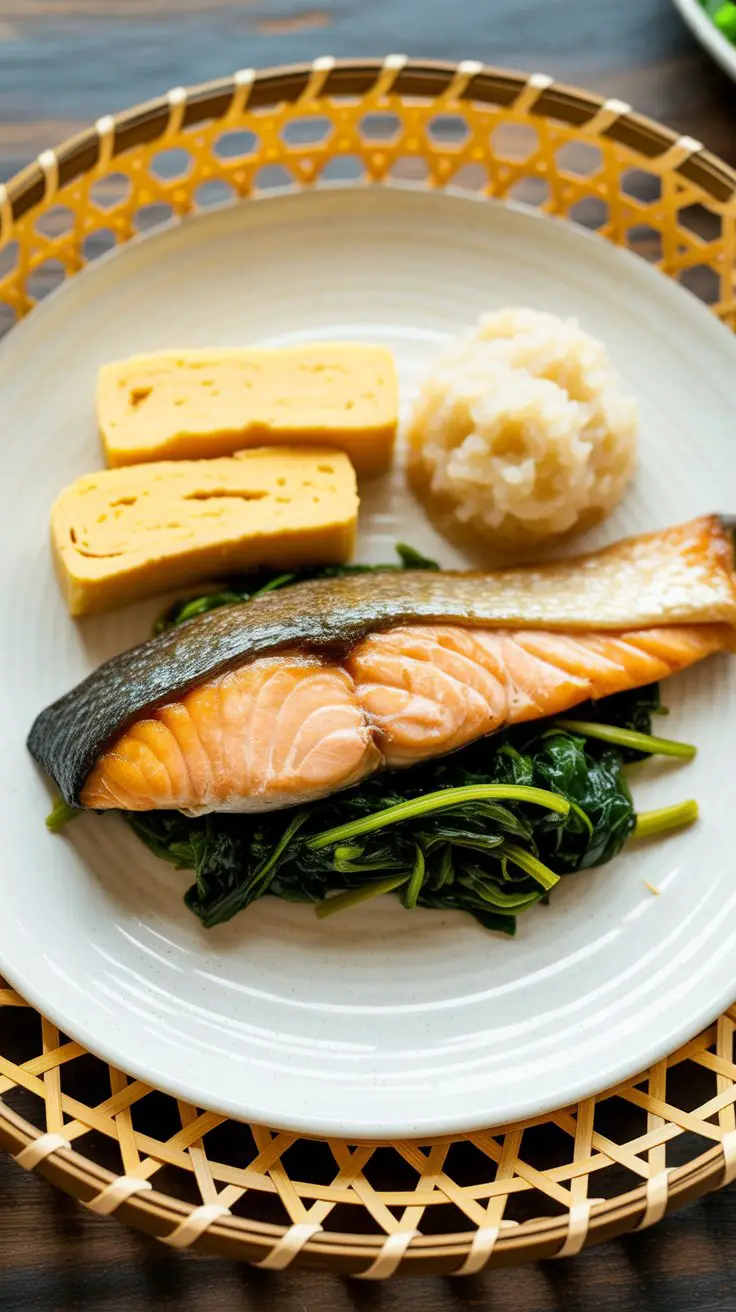
I first tried salted salmon as part of a traditional Japanese breakfast at a small family-run inn during my trip to Kyoto. There was a steaming bowl of miso soup, a just-right tamagoyaki, and a beautifully golden slice of shiozake. I still remember how the crisp skin gave way to tender, salty flesh, balanced perfectly with a bite of plain rice.
Ever since then, I’ve been making my own at home. It’s so much more affordable than the store-bought kind, and the best part—you can control the salt level. My family loves the slightly crispy skin, and this version is a favorite for quick rice bowls, onigiri fillings, or even tucked into a weekday lunch bento.
Ingredients You’ll Need
You just need three things, and the simpler the better here:
- Salmon fillets – Sockeye works really well because it’s firm and not too oily. I prefer slicing my own to get thinner Japanese-style cuts. Once you try it, you won’t go back.
- Salt – I use Diamond Crystal kosher salt—it’s got a gentler saltiness that works great for curing.
- Sake – This helps clean and deodorize the fish. If you’re avoiding alcohol, you can skip it, but it really does mellow the fishiness and add depth.
Step-by-Step: Making Shiozake at Home
1. Clean with sake.
Start by pouring a little sake over your fillets and let them sit for about 10 minutes. This isn’t just for flavor—it really helps get rid of any fishy notes.
2. Pat dry and salt.
Use paper towels to blot the fillets dry. Then salt them generously, especially on the skin. This step firms up the fish and deepens the flavor.
3. Chill and rest.
Wrap the fillets in layers (I usually go with parchment inside and a sealed container) and refrigerate for at least 48 hours. This slow cure is where the magic happens.
4. Freeze for later.
After curing, wrap each fillet and pop them in the freezer. This makes busy mornings so much easier—just thaw and broil!
5. Broil or grill.
Place the fillets skin-side up and cook until the surface is golden and the skin is crackly. It usually takes about 8 minutes in my oven broiler. No need to flip.
Slicing the Salmon: Japanese-Style
The way you slice matters here. Japanese-style salmon fillets are cut diagonally and much thinner than what we usually see in Western kitchens. This helps them cook faster and get a crispy skin.
Lay the whole salmon piece skin-side down. Start from the tail end and slice on a slant, about 1 inch thick. Each portion is roughly 60–80 grams—perfect for one serving, and easier to balance on rice or tuck into onigiri.
Honestly, once I learned this method, I started cutting all my salmon this way—it’s just that convenient.

Adjusting the Salt Level
Traditionally, salted salmon had to be salty enough to preserve without refrigeration. These days, we don’t need to go that far. Here’s what I usually do at home:
- 3–4% salt: Lighter on salt, perfect for eating fresh within a few days.
- 5% salt: Great for a slightly stronger flavor and longer storage.
- 8% or more: This is more old-school and super salty—ideal if you’re going full traditional.
If you find your batch too salty, here’s what I do: soak the fillets in a mix of 2 parts sake and 1 part mirin for a few hours. It gently tones down the salt without stripping away flavor or drying out the fish.
How I Use Shiozake in Everyday Cooking
- Breakfast: Paired with steamed rice, miso soup, and a veggie side—it’s the kind of breakfast that makes you feel grounded.
- Bento boxes: It holds up beautifully cold and brings a little luxury to lunch.
- Onigiri: Just flake it and stuff into rice balls—my favorite is mixing it with a little toasted sesame.
- Salmon fried rice or ochazuke: Just chop up leftover fillets and toss into fried rice or pour hot green tea over rice for a cozy ochazuke.
Real-Life Tips from My Kitchen
- Use skin-on fillets. That crispy skin is everything. Plus, it helps hold the fish together while cooking.
- Watch the broiler. Depending on your oven, things can go from perfect to burned fast. I usually check around the 6-minute mark.
- Double the batch. If I’m already curing, I make at least 4–6 fillets to freeze for later. Future me always thanks past me.
FAQs
Can I skip the sake?
Yes, but it really helps remove odor and smooth out flavor. If you’re avoiding alcohol, just give the fillets a rinse in clean water and pat dry thoroughly.
It’s too salty—how do I fix it?
Soaking in a mix of sake and mirin works well. Avoid just plain water—it can leach too much and leave the fish dry.
How long does this keep?
In the fridge: 2–3 days after curing. In the freezer: up to a month. I usually freeze mine right after curing and just pull one out as needed.
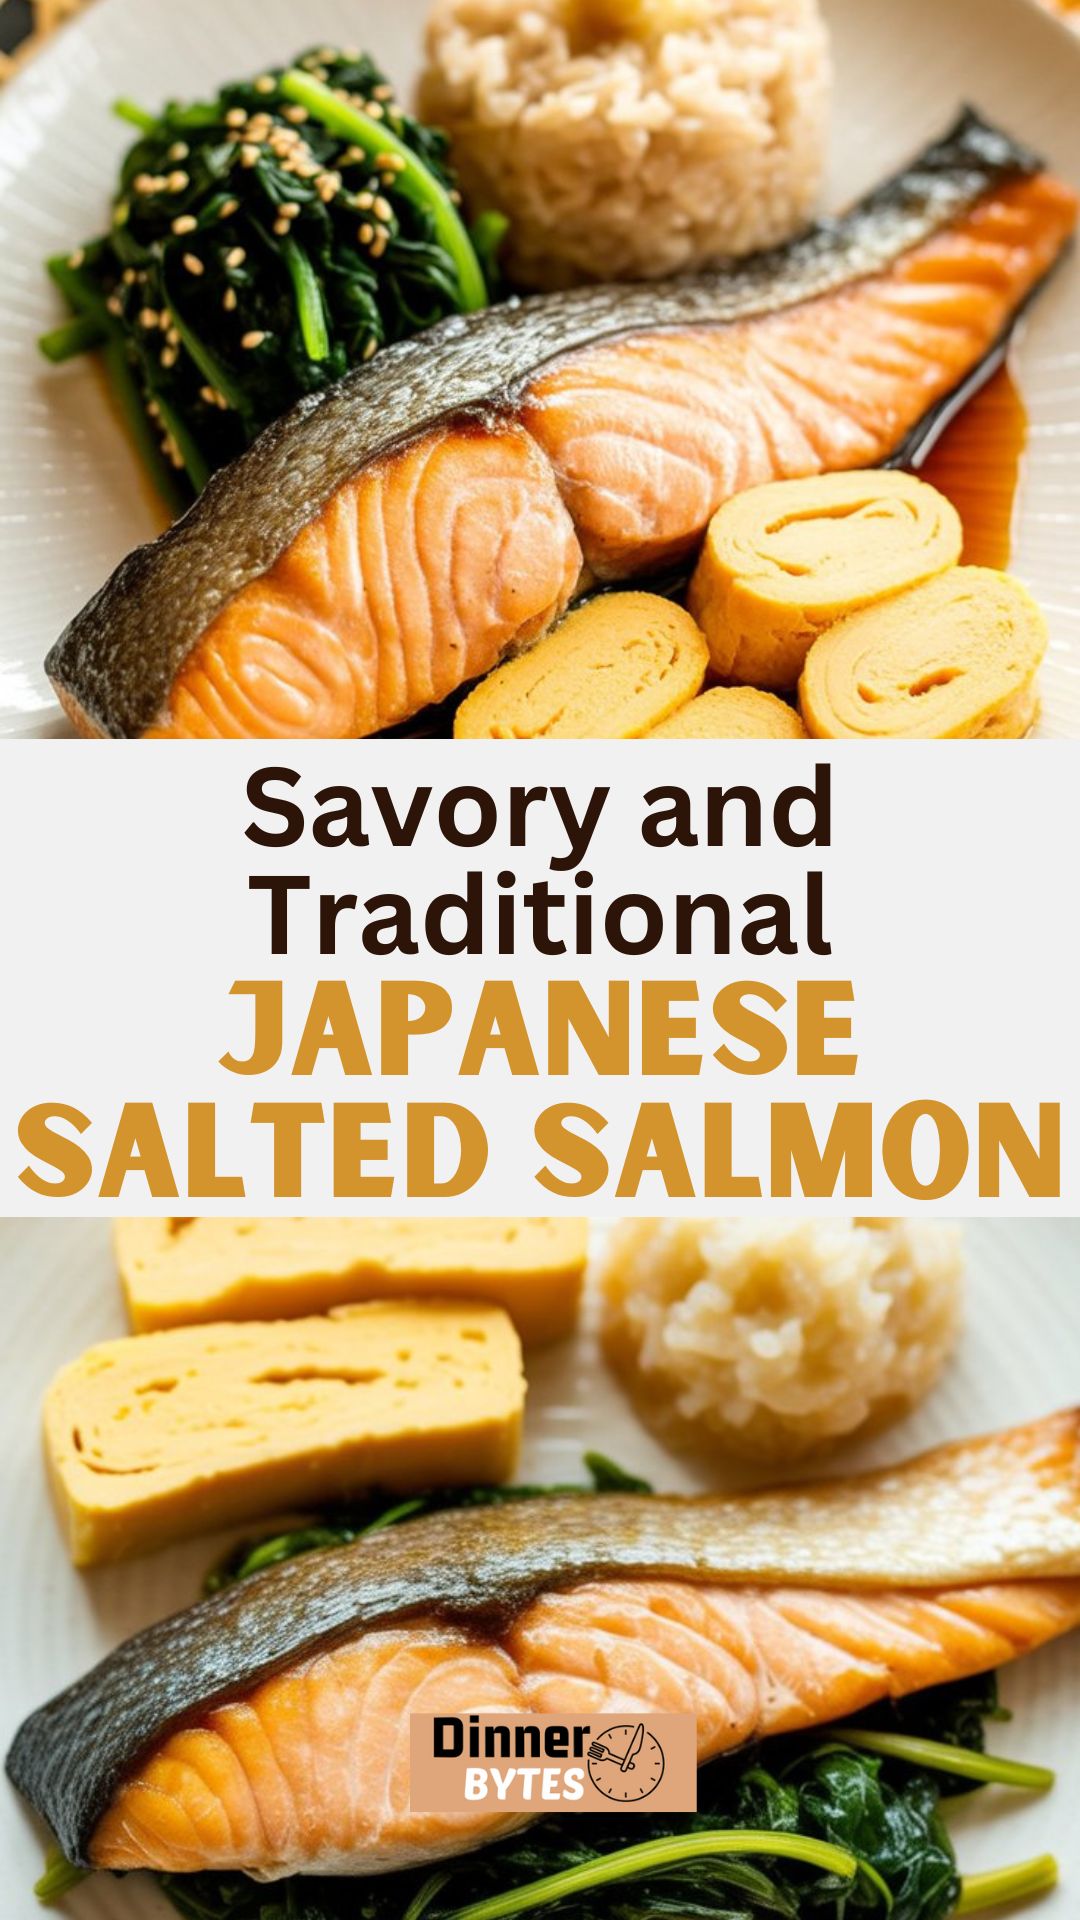
Japanese Salted Salmon
This Japanese Salted Salmon, known as Shiozake, is a beloved traditional dish that brings simple ingredients to life with time and care. After a two-day cure, the salmon transforms into something rich, savory, and perfect for breakfast plates, rice balls, or bento boxes. With crispy skin and tender flakes, it’s a flavor you’ll keep coming back to.
Ingredients
- 1.3 lb salmon fillet, skin-on (sockeye or Atlantic both work well)
- 3 tablespoons kosher salt (use about 5% of the salmon’s weight)
- 1–2 tablespoons sake
To Serve:
- 2 inches daikon radish (grated, with excess liquid squeezed out)
Instructions
- Slice the Fillets (If Needed): If your salmon is a whole side, lay it skin-side down. With the tail end on your left, slice off the narrowest part of the tail—it’s too small to use here. Then cut diagonal slices toward the tail, aiming for even portions.
- Season the Salmon: Lightly drizzle the sake over the fillets and rub it in well. Let it sit for about 10 minutes to mellow out the fishy aroma. Pat the fillets dry with a paper towel.
- Now comes the curing step—rub kosher salt evenly across the skin and both sides of each fillet. Don’t be shy; a firm press helps it stick. Any leftover salt can be used on the skin side for extra crispiness later.
- Marinate and Rest: Grab an airtight container and line the bottom with a paper towel. Lay a few fillets flat, then cover them with another layer of paper towel. Repeat with more layers until all fillets are in, finishing with a final paper towel on top. Cover and refrigerate for 48 hours. During this time, the salt pulls out moisture and firms up the flesh.
- Ready After 2 Days: When you open the container, the fillets will look slightly darker and feel firmer. Toss the damp towels and gently pat the salmon dry. At this stage, you can cook them immediately or freeze for later.
- To Freeze for Later: Wrap each fillet individually in plastic wrap—or two at a time, with plastic between them so they don’t stick. Store in a zip-top freezer bag and freeze for up to one month.
- To Defrost: Thaw overnight in the fridge while still wrapped. Let the salmon come to room temp for 15–20 minutes before cooking.
Notes
Cooking Methods
- Broil (Recommended)Preheat your oven to Broil on High (about 550ºF). Line a baking sheet with foil and lightly oil it. Place salmon skin-side up for crispier results. Broil for 8–10 minutes until golden and fully cooked—no flipping needed.
- Bake (Optional)Preheat to 425ºF. Bake on parchment-lined sheet for about 10–12 minutes until the salmon flakes easily.
- Grill (Optional)On a stovetop fish grill or ceramic rack, cook fillets over medium heat for 5 minutes on each side. This brings out a wonderful charred flavor.
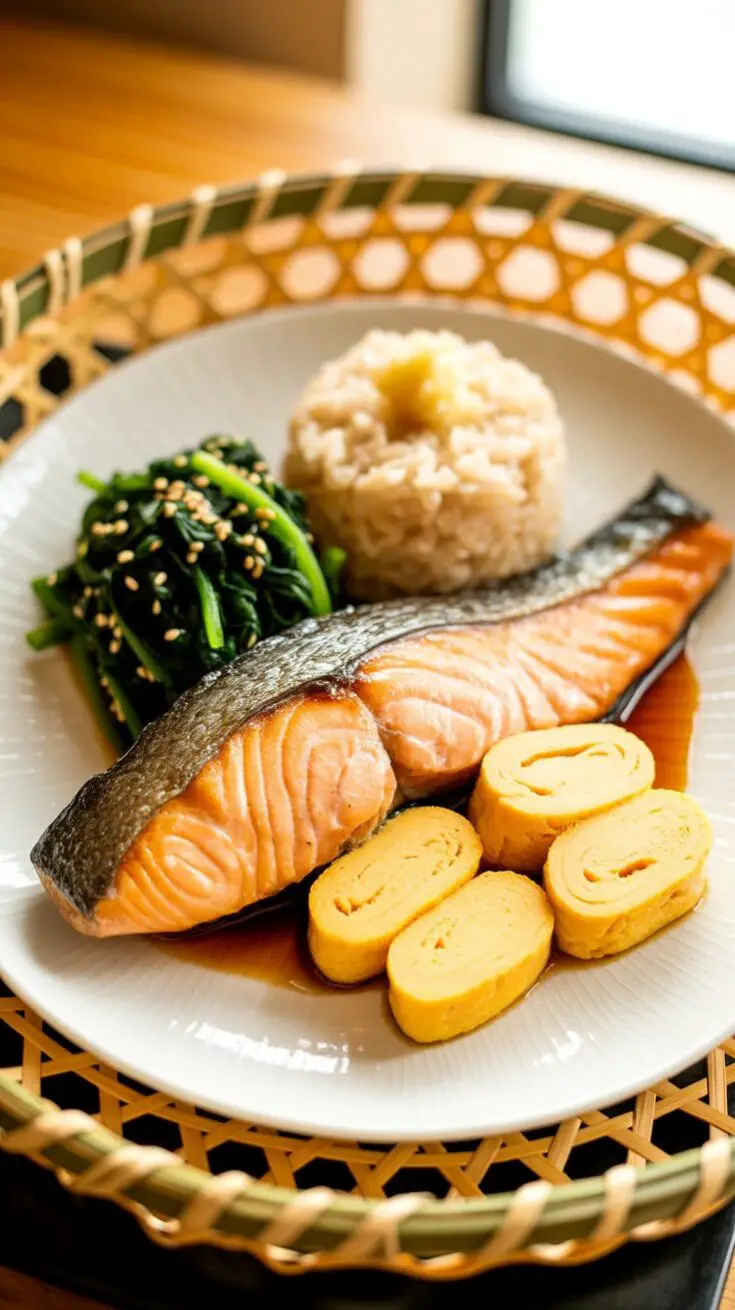
To Serve
- Peel and grate the daikon radish and squeeze out most of the juice. Serve alongside your salmon for a traditional Japanese touch. This dish pairs beautifully with Tamagoyaki, steamed rice, or a simple spinach salad.
Storage Tips
- Leftover cooked salmon can be kept in the fridge for up to 3 days. If it hasn’t been previously frozen, you can freeze it for up to 2 weeks.
Nutrition Information
Yield
8Serving Size
1Amount Per Serving Calories 196Total Fat 9gSaturated Fat 2gTrans Fat 0gUnsaturated Fat 7gCholesterol 46mgSodium 1473mgCarbohydrates 4gFiber 1gSugar 2gProtein 17g
dinnerbytes.com, occasionally offers nutritional information for recipes contained on this site. This information is provided as a courtesy and is an estimate only. This information comes from online calculators. Although dinnerbytes.com attempts to provide accurate nutritional information, these figures are only estimates.
Let me tell you, once you try homemade Shiozake, it’s hard to go back to store-bought. There’s something incredibly satisfying about slicing, salting, and prepping your own batch—knowing exactly what went into it, and getting that perfect crisp skin just the way you like it.
Try Other Salmon Recipes: