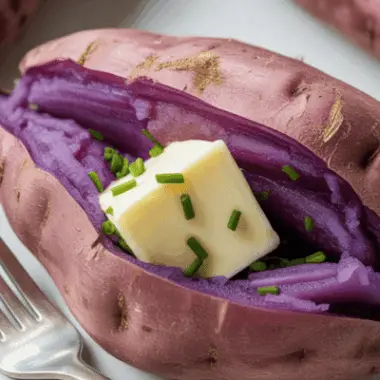
Every fall I find myself reaching for butternut squash again and again. Whether I’m roasting it for dinner, making soup, or tossing it into salads, it’s always a favorite. But for the longest time, I was throwing away something that turned out to be a little hidden gem—the seeds.
It took me a while to realize how good roasted butternut squash seeds can be. They’re smaller than pumpkin seeds, making them easy to eat by the handful, and they have this nutty, crunchy, slightly sweet thing going on that’s downright addictive.
Now I make a batch every time I roast a squash. They’re perfect for snacking or for sprinkling over soups, salads, pastas, or even a simple bowl of rice for a little extra texture.
How I Discovered These Little Gems
Funny enough, it wasn’t even my idea. Years ago, I was working in a restaurant kitchen and noticed one of the line cooks munching on what I thought were pumpkin seeds.
He handed me a few and I was surprised at how much smaller they were, but they packed a ton of flavor. Lightly salted, roasted to a perfect crunch—they were so good I immediately asked what they were. When he said “butternut squash seeds,” I think my jaw dropped.
I’d been tossing them in the compost for years without a second thought. Ever since then, I’ve saved them every time.
Why Roast Butternut Squash Seeds?
If you’re already scooping them out of the squash, it just feels wrong to waste them once you know how tasty they are.
- They’re easy: A quick rinse, a bit of oil and seasoning, and into the oven.
- They’re versatile: Change up the spices to match your mood or the dish you’re serving them with.
- They’re budget-friendly: Free snack from something you were probably throwing away.
- They’re fun to customize: I’ll do a savory batch for salads and soups, or a lightly sweet one for snacking.
They’re the kind of little touch that makes you look like the person who really has it all together in the kitchen—even if you’re just winging it.
Getting Started: Cleaning the Seeds
The only real “work” here is cleaning the seeds, but it’s simple.
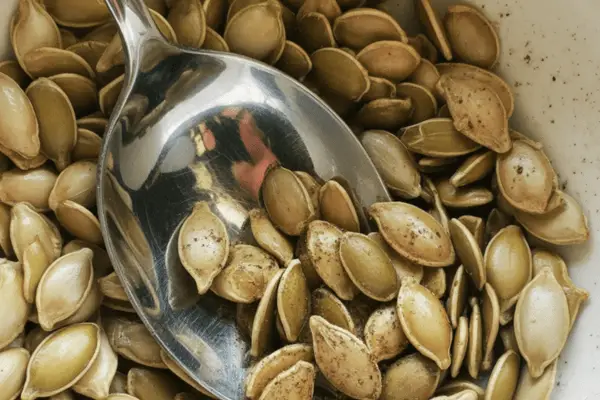
After scooping them out of the squash, I drop them into a bowl of water. I use my fingers to separate the seeds from the stringy pulp. Don’t worry if it’s not perfect.
Then I rinse them in a fine mesh strainer to get the last bits off. I pat them dry on a clean kitchen towel or paper towel before seasoning.
Tip: The drier they are, the better they’ll roast.
Seasoning Ideas
This is where it gets fun. You can really make them your own.
My basic go-to is:
- A drizzle of olive oil
- A tiny bit of honey (or agave for a vegan option)
- Salt and pepper
But when I’m feeling creative, I’ll add:
- Chili powder for a kick
- A pinch of cayenne for heat
- Nutmeg or cinnamon for a warm, autumn vibe
- Smoked paprika for a subtle smokiness
- Even a little curry powder for something different
I love making a big batch with different flavors for variety.
How I Roast Them
I’ve tried a few pans over the years, but my favorite is my well-seasoned cast iron skillet. It holds heat so evenly and gives the seeds a perfect, golden crunch.
But any baking sheet will work. If I’m using a thinner baking sheet, I’ll sometimes double it to avoid over-browning the bottoms.
Here’s how I do it:
- Preheat the oven to 400°F (200°C).
- Toss the cleaned, dried seeds in a bowl with olive oil, honey (or agave), and chosen spices. Mix until coated.
- Spread them in a single layer on the pan. No crowding—you want them to roast, not steam.
- Bake on the middle rack for about 6–10 minutes, stirring once or twice for even color.
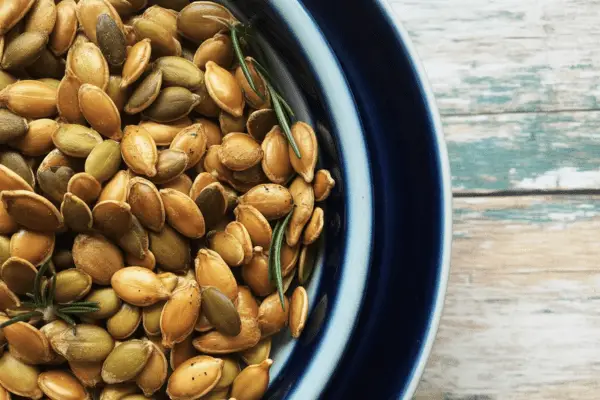
They’re done when they’re golden brown—think warm honeycomb color.
Tips for Perfect Seeds
- Watch the first batch: Ovens vary a lot, and these go from perfect to burnt quickly. The first time, I keep a close eye so I know my oven’s timing.
- Adjust spices for your dish: Planning to sprinkle them over soup? Go savory with salt, pepper, and chili. Want a snack? Maybe try a little cinnamon and sugar.
- Let them cool: They’ll crisp up even more as they cool on the pan.
Storing and Using Them
Once they’re cooled, I store them in an airtight jar. They stay crunchy for about a week—though honestly, they rarely last that long around here.
I use them in all sorts of ways:
- Straight-up snacking.
- Sprinkled over butternut squash soup (so meta and delicious).
- Tossed on salads for crunch.
- Stirred into grain bowls.
- Even as a topping for pasta or roasted veggies.
They’re such a small thing, but they make a meal feel just a little more thoughtful.
Why I Keep Making Them
It still surprises me how often people don’t realize you can eat these. I love telling friends about it when they’re prepping squash. It’s one of those little kitchen secrets that feels special but is so easy to do.
Plus, there’s something satisfying about using the whole vegetable. No waste, extra flavor, and one more way to enjoy something that’s already in season.
If you give these a try, let me know how you season yours. I’m always looking for new ideas to mix things up.
Happy cooking—and happy snacking!
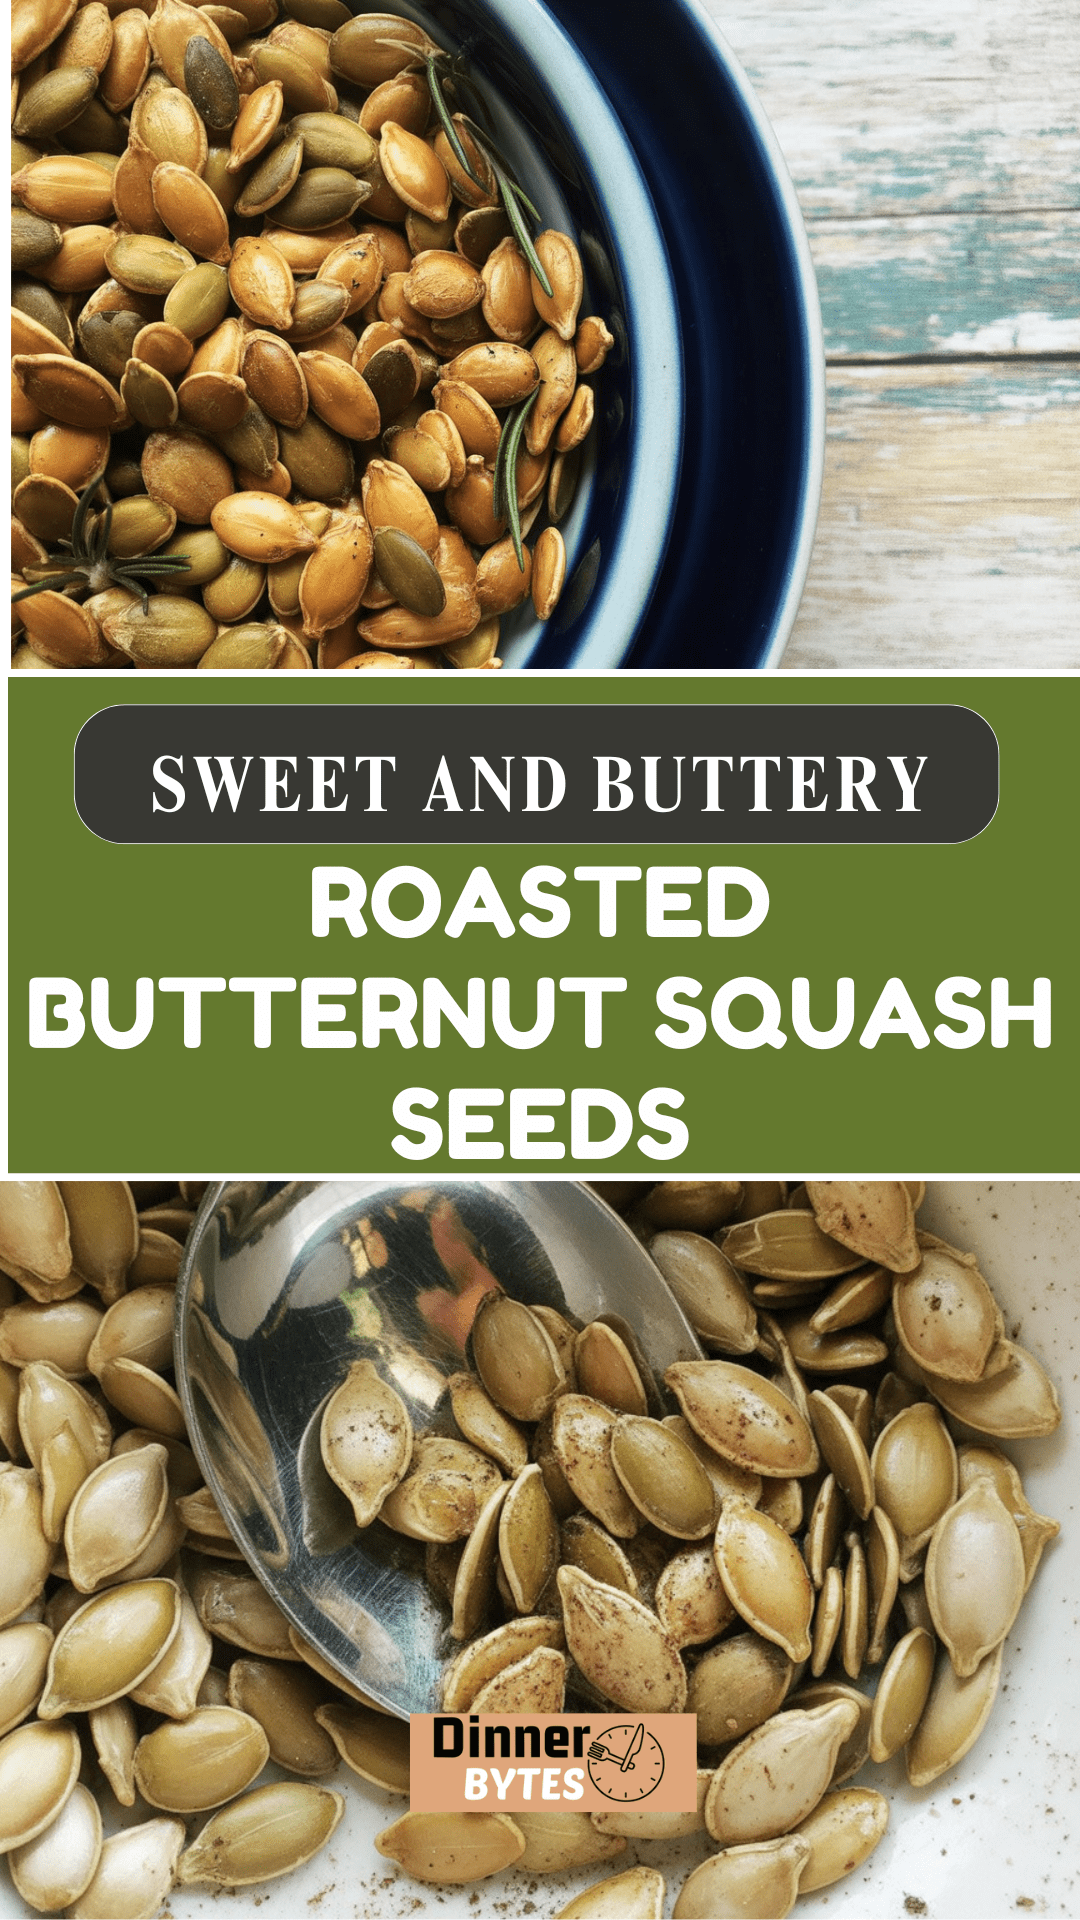
Roasted Butternut Squash Seeds
Don’t toss those butternut squash seeds—turn them into an irresistible snack!
Ingredients
- Seeds from one butternut squash
- 1/4 teaspoon salt 1/8 teaspoon black pepper
- 1/8 teaspoon chili powder
- 1/8 teaspoon nutmeg pinch cayenne pepper
- 1 -2 drops olive oil
- 1/4 teaspoon honey (or agave)
Instructions
- Start by preheating your oven to 400 F. Scoop the seeds from a butternut squash using a spoon, then rinse them well and strain to remove any leftover pulp. Dry them thoroughly with a paper towel so they’re nice and ready for seasoning.
- Transfer the dry seeds into a small bowl. Add one or two drops of olive oil along with the honey. Give everything a good stir so they’re evenly coated. Sprinkle in all the spices and mix again to make sure the flavors are well distributed.
- Spread the seasoned seeds in a single layer in a cast iron skillet or on a double-stacked baking sheet to help with even roasting. Slide them into your preheated oven and let them bake for about 6 to 8 minutes. Keep an eye out for that beautiful golden-brown color.
- If they need a bit more time, take them out, stir them gently, spread them back into a single layer, and return to the oven. Check every couple of minutes so they don’t over-toast. Once they’re perfectly golden and fragrant, take them out.
- Give the hot seeds a final stir in the pan and let them cool there for around 10 minutes. Store in an airtight container or a zip-top bag so you can snack on them whenever you like.
Notes
- Try playing around with different spices to switch up the flavors. Remember, the type of pan and the sugar content from the honey can affect browning time, so watch carefully and adjust the temperature if needed to keep them from getting too dark.
Nutrition Information
Yield
1Serving Size
1Amount Per Serving Calories 329Total Fat 27gSaturated Fat 4gTrans Fat 0gUnsaturated Fat 23gCholesterol 0mgSodium 547mgCarbohydrates 23gFiber 7gSugar 6gProtein 2g
dinnerbytes.com, occasionally offers nutritional information for recipes contained on this site. This information is provided as a courtesy and is an estimate only. This information comes from online calculators. Although dinnerbytes.com attempts to provide accurate nutritional information, these figures are only estimates.